How to fix your Sub Zero lights will be detailed in this article.
If you have come here looking for advice on replacing light bulbs in your sub-zero, read on. If you are in the New York Tri-State Area and need professional assistance please call us toll free at (800) 200 2306 or Email Us.
Step one – Identify your Sub Zero Model and identify the lightbulbs your unit works with. Using the correct lightbulbs is critical as the wrong bulbs can affect more than just the lighting of your refrigerator, it can even alter the cooling process. If all of your sub zero lights seem to have gone out at once, check out our guide on how to replace a sub zero lights switch.
300 Series:
Remove glass light shroud by putting hands behind glass and pulling towards you. This will reveal light bulbs and sockets, replace as needed. The 3-series Sub Zero used 40 W appliance bulb in this shape. LINK.
500 Series:
Remove plastic shroud by getting a grip in the middle of shroud and pulling toward you. Don’t be afraid to bend the shroud, it is flexible and rarely breaks. This will expose the light bulbs and sockets, replace as needed. See the photo below, the plastic piece at the top of the photo is the shroud.
The five hundred series Sub-Zero uses 40Watt appliance bulbs, here is the Link to purchase them. If a Bulb shows black residue, consider preemptively replacing. Sometimes bulbs come loose and don’t need replacing what so ever, tighten yours with your hands and see if loose light bulbs are causing your issues.
To re-insert light shroud always start by getting the tail end of the shroud in the slots that present themselves within the unit on the fan shroud. Once seated properly, push on shroud and seat it properly in the lip at the front of the ceiling of the Sub Zero. If the new lightbulbs do not seem to be working, your next step will be to replace your light switch. Visit that tutorial by clicking this link.
600 & 700 series:
There are four tabs on the corners of this rectangular light shroud, you need to find each one, and unhinge them from the pegs they rest on. Look at this picture where I point to where the tabs are located.
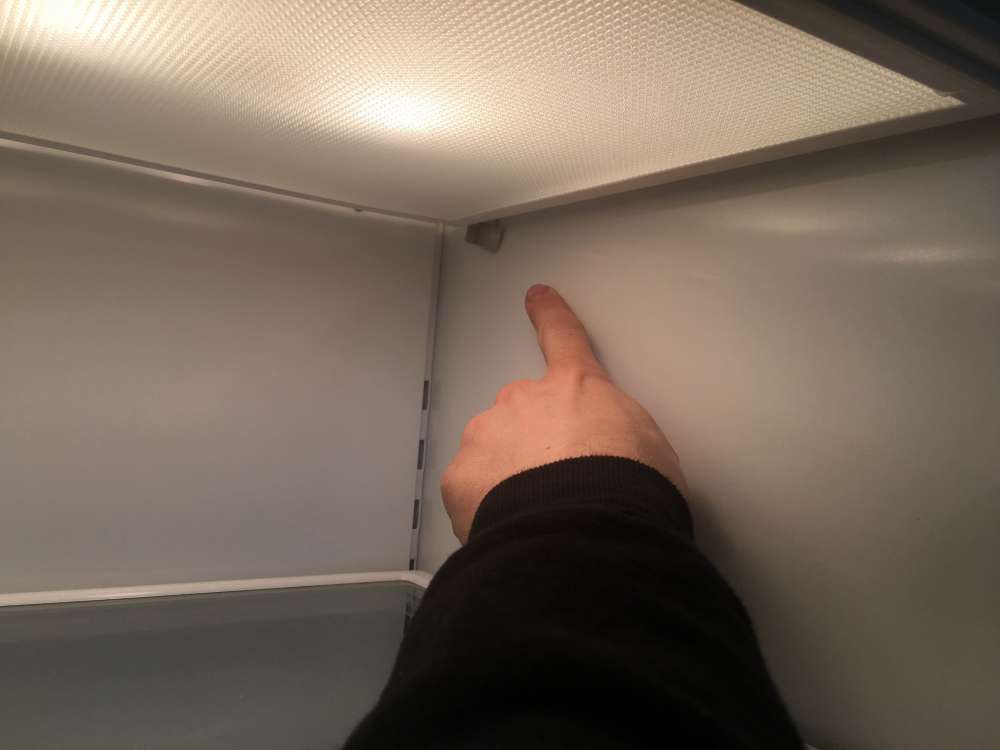
This will free the light shroud so you can wiggle it. Now use pressure to guide the pegs through the guides on the light shroud until the shroud comes free. The light bulbs and sockets will now be visible. Replace any bulbs with black residue inside them, also tighten good bulbs with hands. If the lights still do not work check out our guide on how to replace your light switch.
All Six Hundred Series Sub-Zero use these light bulbs.